Exterior Door Replacement Guide
A practical guide for South Jersey homeowners, sellers, landlords, and property owners who need to understand what happens during an exterior door replacement.
Clean door replacement, threshold work, trim, sealing, and seller prep.
What This Project Usually Includes
Most exterior door jobs are not just “take out one door and put in another.†The opening, sill, trim, threshold, weather seal, and nearby flooring all matter. A good finished door should open smoothly, latch correctly, seal tightly, and look clean from both inside and outside.
Homeowners
Door replacement can help with drafts, sticking doors, water getting in, loose trim, damaged frames, old hardware, and curb appeal.
Sellers
A rough front, side, or back door can stand out in listing photos and inspections. A clean door repair can make the home feel better maintained.
Landlords
Doors take abuse during move-outs. Turnover work may include a new door, lockset, threshold repair, trim touchup, caulk, paint, and hauling old material.
Step-by-Step Door Replacement Overview
This is written for homeowners so you know what is involved and what photos to send. It is not meant to replace a proper on-site repair plan, especially when rot, framing damage, leaks, masonry, or structural issues are found.
Check the Existing Door Problem
The first thing is figuring out why the door is being replaced. Common reasons include rot at the bottom, daylight around the edges, water stains near the threshold, a door that will not latch, cracked trim, swelling, storm damage, or an outdated door before selling the home.
Measure the Door and Opening
The width, height, jamb depth, swing direction, and rough opening all matter. A prehung exterior door comes with the door already set in a frame, but the existing opening still has to be checked so the replacement can fit and be adjusted correctly.
Remove Trim and the Old Door Unit
The old door slab, interior trim, exterior trim or brickmold, threshold, fasteners, caulk, and frame may need to come out. This is when hidden problems often show up, especially around the bottom corners and sill.
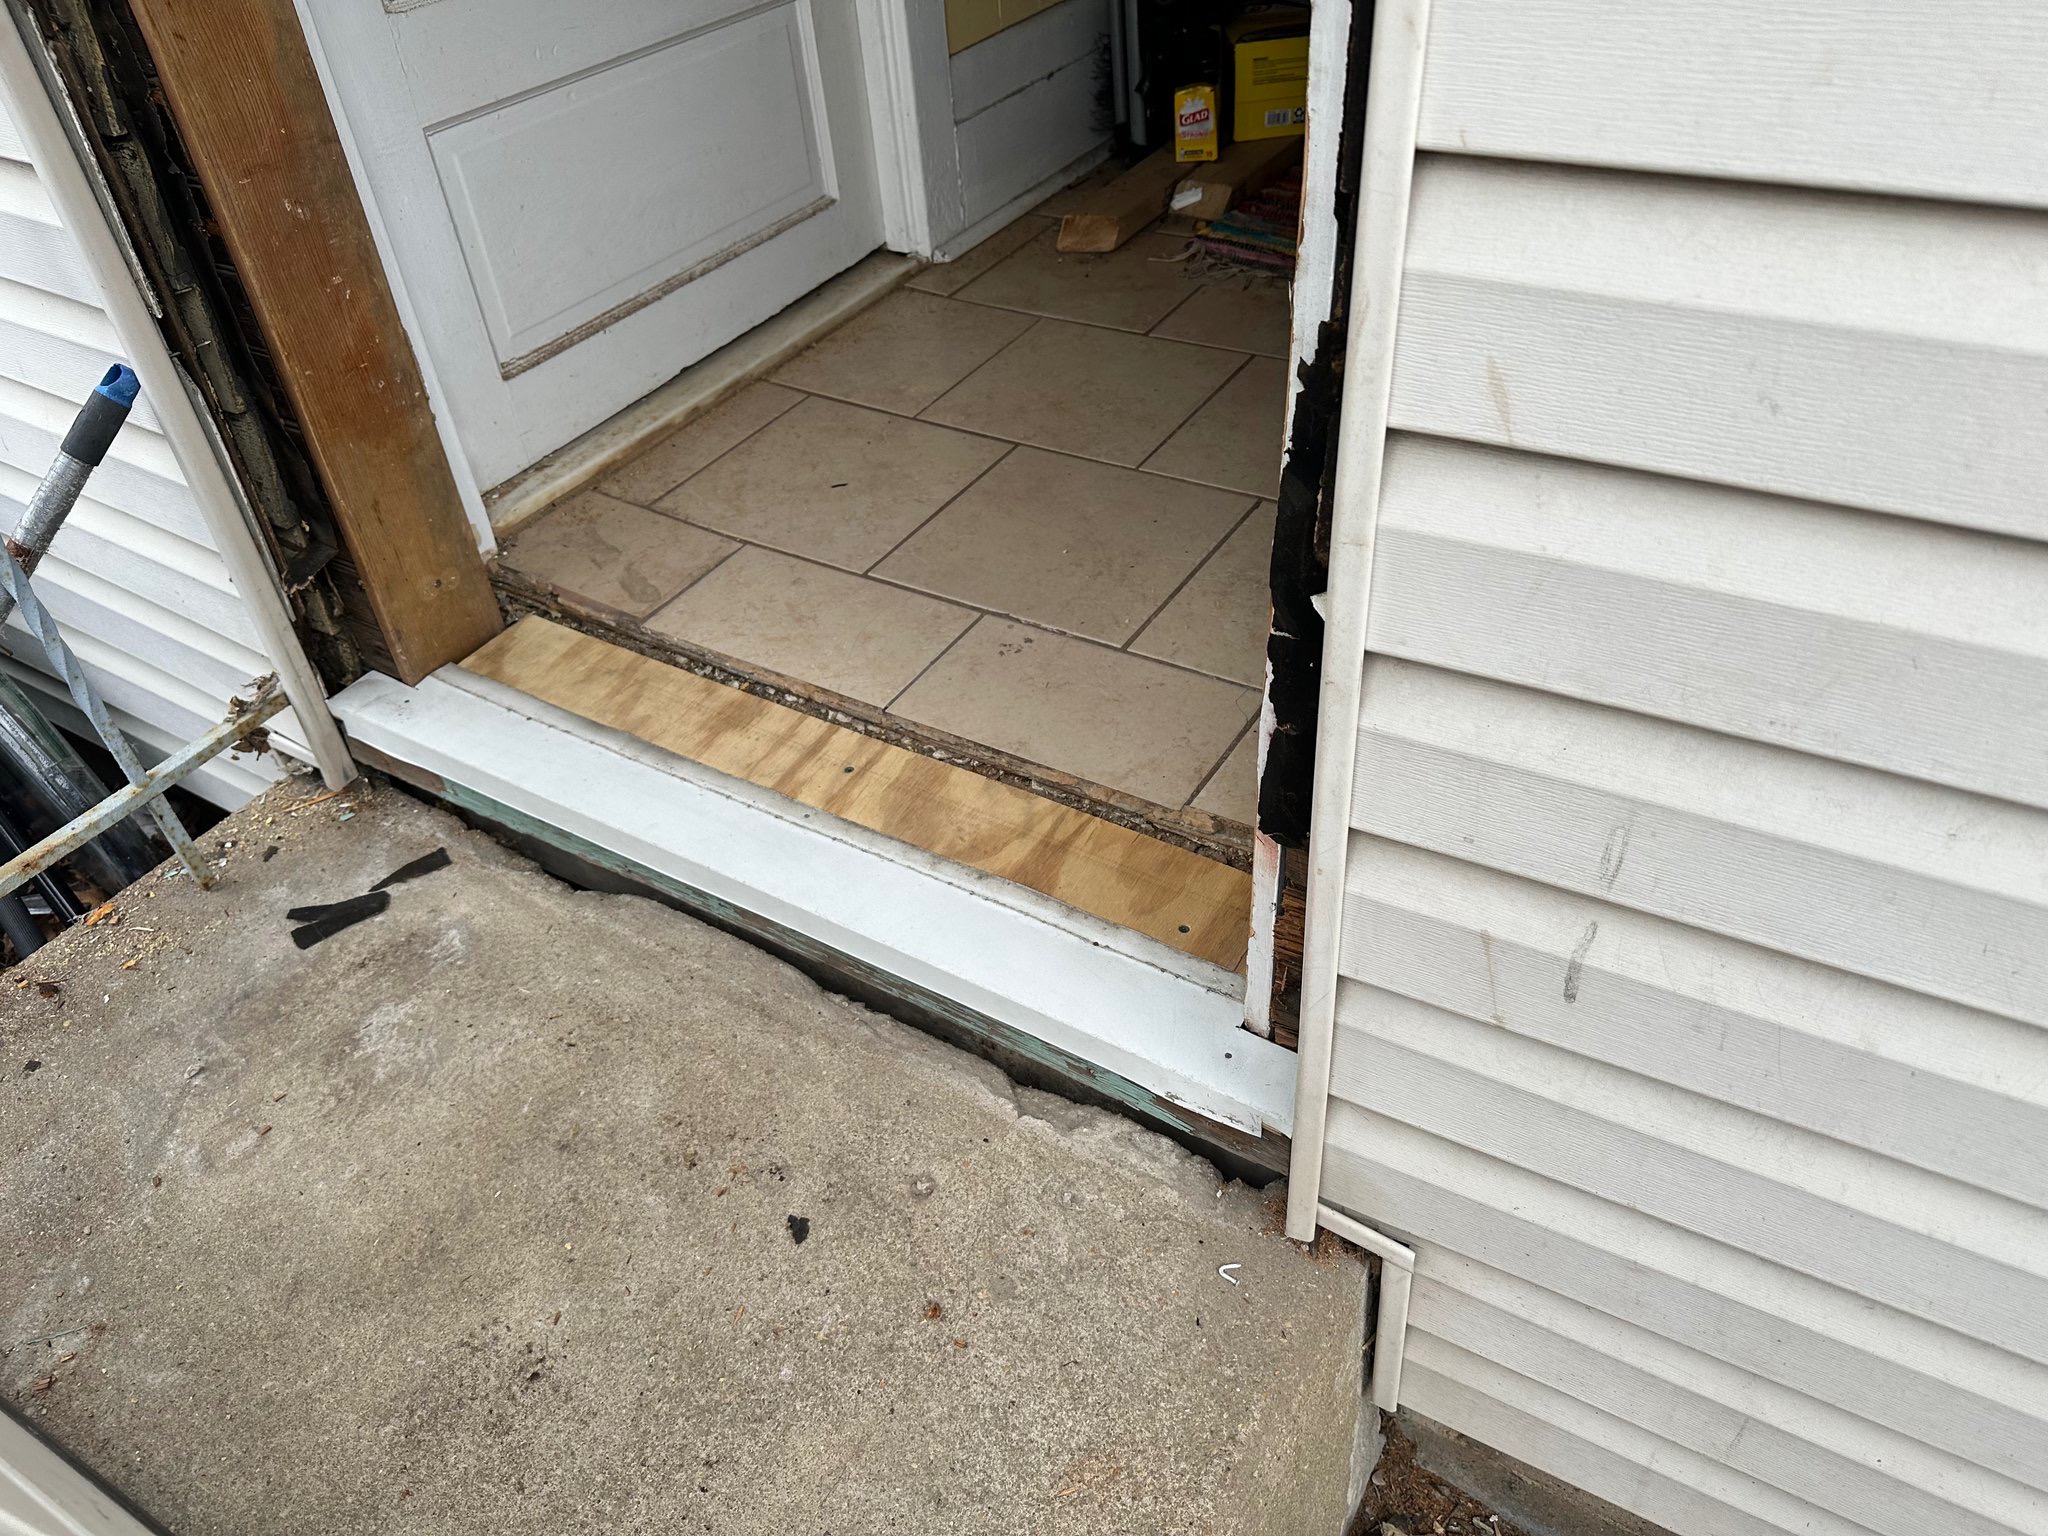
Inspect the Sill, Threshold, and Framing
The bottom of the opening is one of the most important parts of the job. If the sill area is soft, out of level, wet, or damaged, the new door may not seal correctly. This is also where water problems can come back if the opening is not prepped properly.
Prepare the Opening
The opening should be cleaned, checked for level and plumb, and prepared before the new door is set. Depending on the home, this can include repair blocking, sill prep, flashing or water-management details, caulk, and making sure the new threshold has solid support.
Set the New Door in Place
The new door unit is placed into the opening and adjusted before final fastening. This is where patience matters. The door needs even gaps, a level threshold, and a frame that is not twisted or forced out of shape.
Shim, Square, and Fasten
Shims are used behind hinge and latch areas to hold the frame straight. If the door is fastened too tight or out of square, it can rub, swing open, bind, or fail to latch. The goal is a solid frame with smooth door movement.
Insulate, Seal, and Trim
After the door operates correctly, gaps around the frame are insulated carefully, then trim and finish details are handled. Exterior caulk and weather sealing help reduce drafts and water intrusion.
Test the Finished Door
The door should open and close smoothly, latch without fighting, lock properly, sit evenly in the frame, and seal along the weatherstrip. The threshold, trim, caulk lines, and cleanup should also be checked before the job is complete.
Photos to Send for a Quote
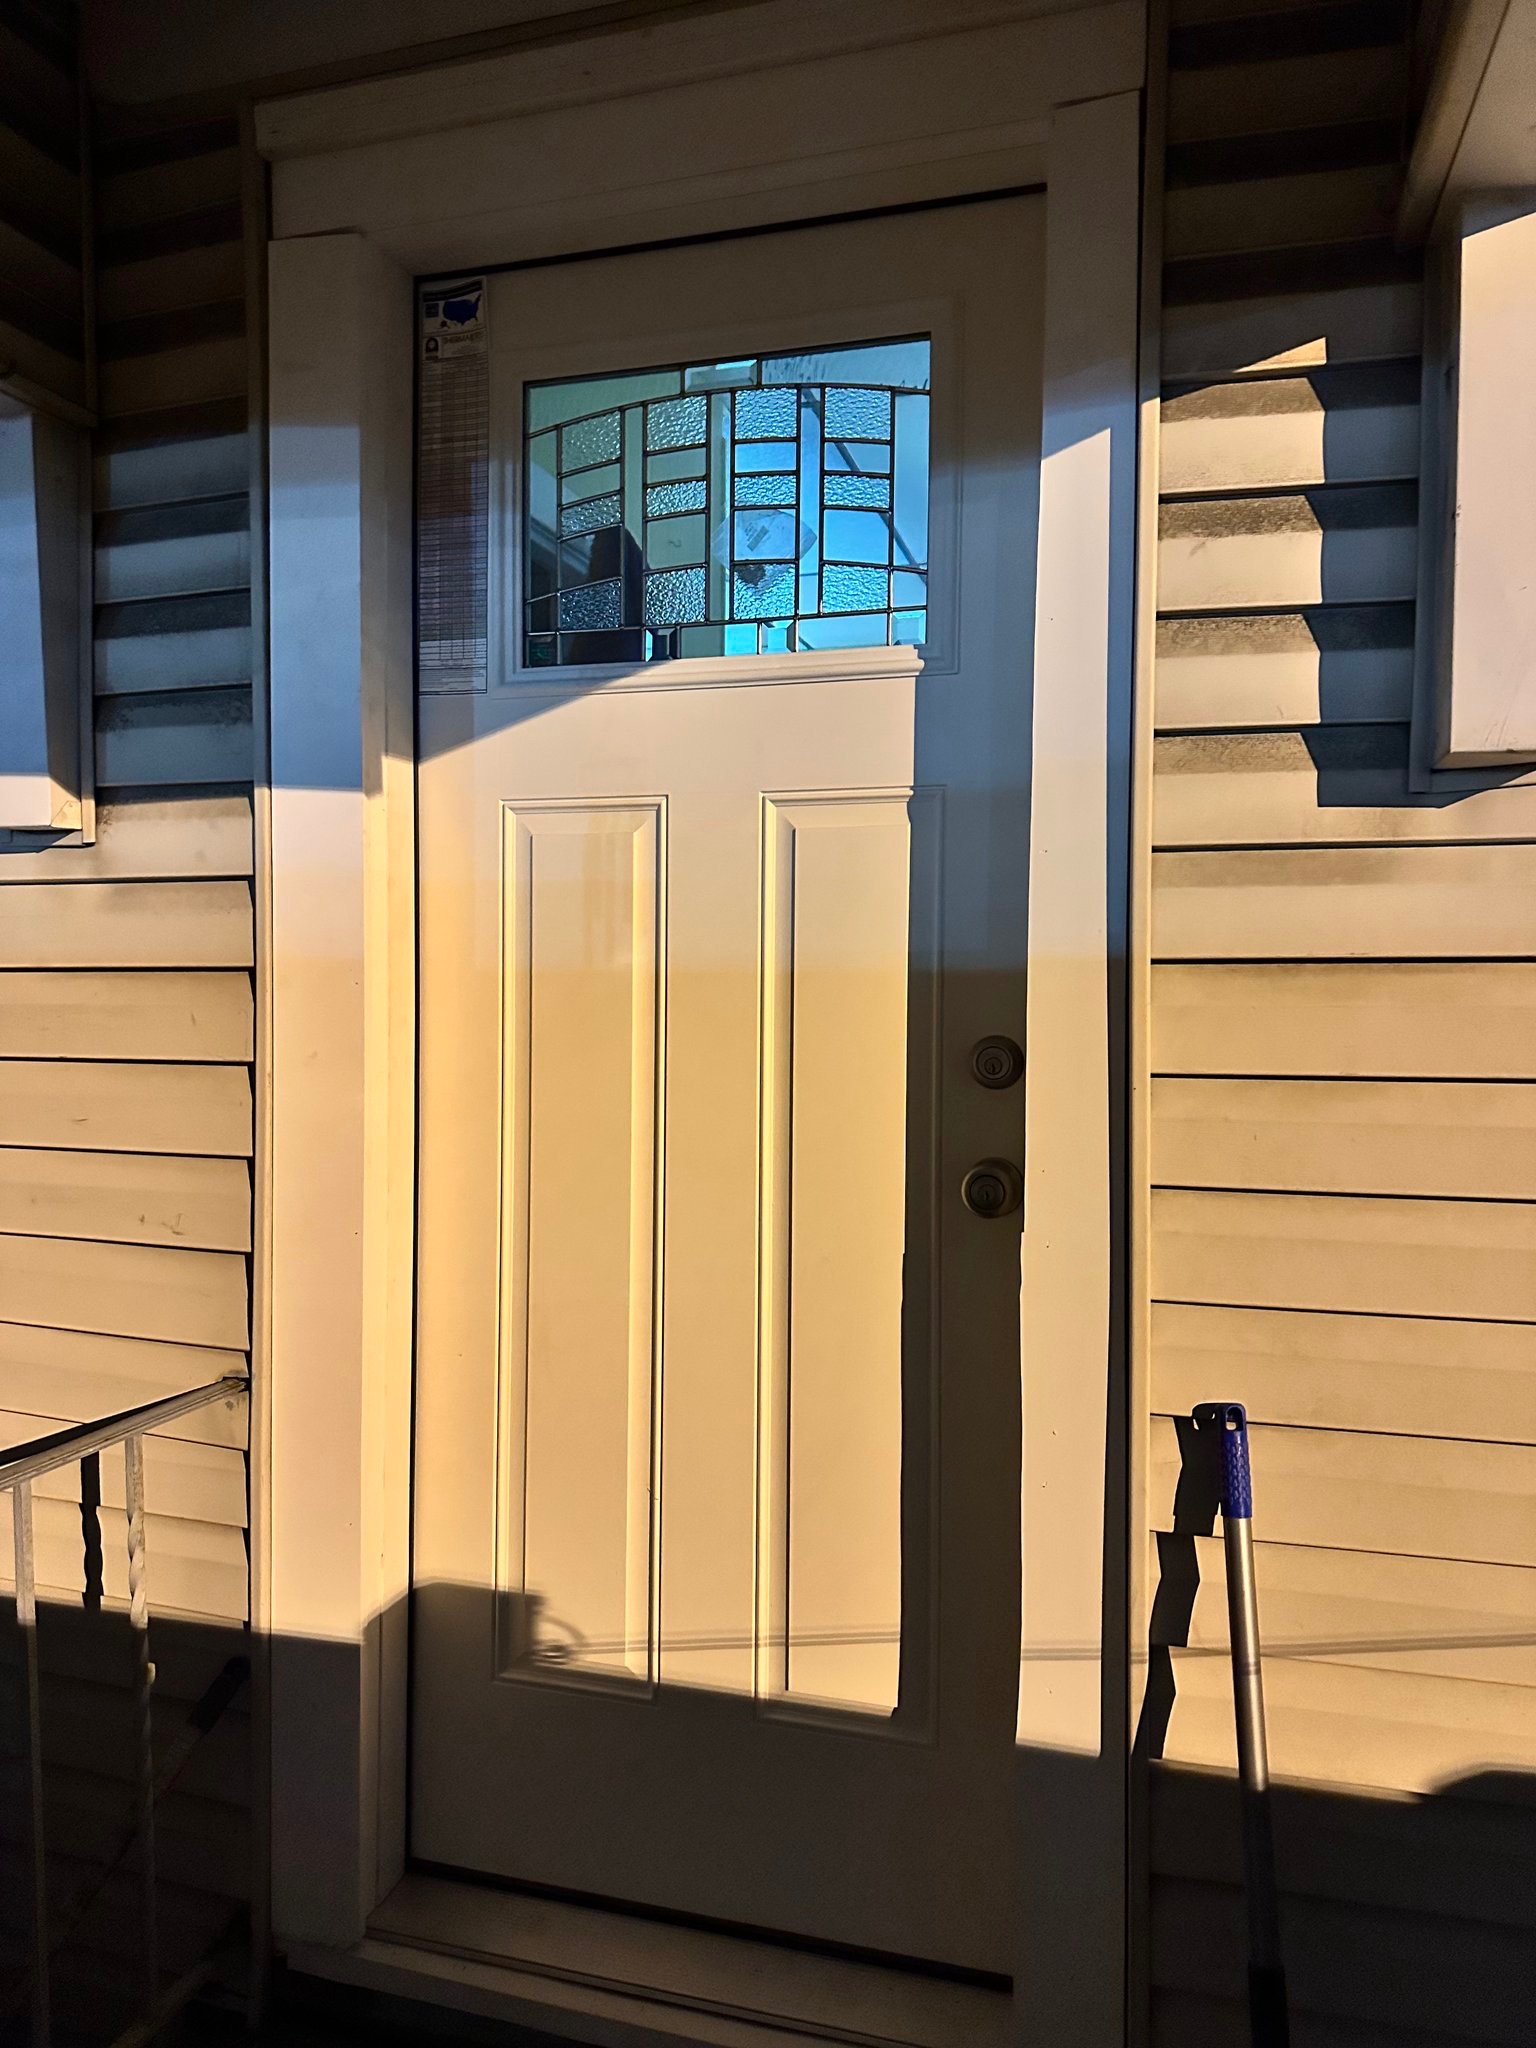
- Outside photo of the full door, trim, and threshold.
- Inside photo showing the door, casing, floor, and threshold area.
- Close-up of rot, cracks, gaps, water damage, or loose trim.
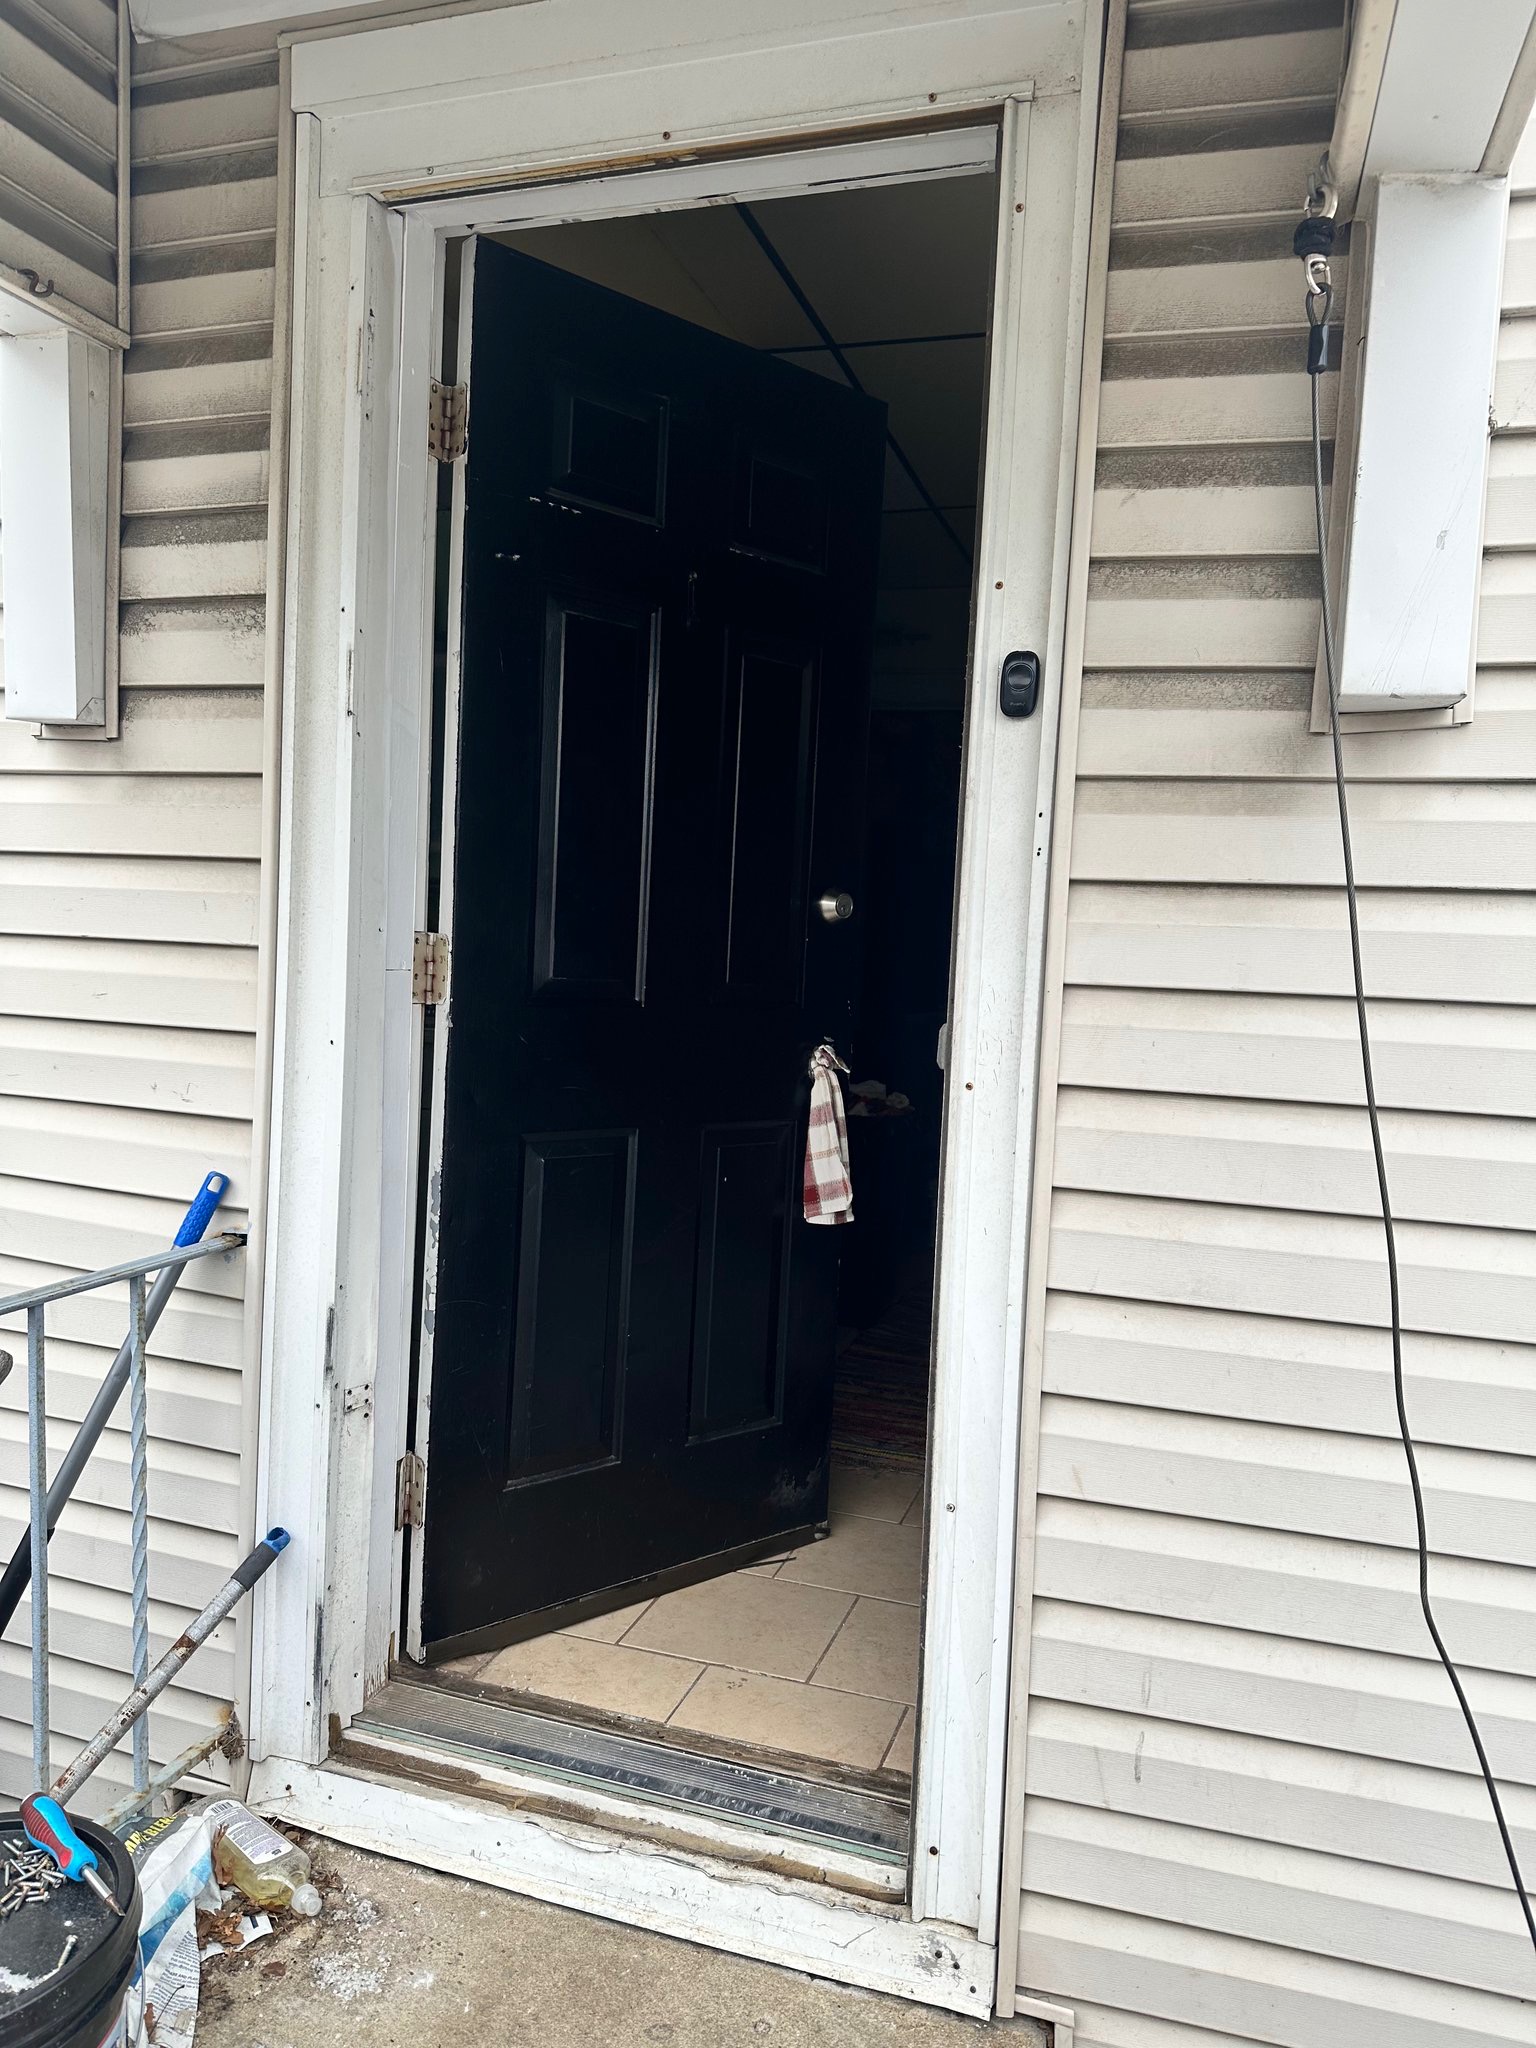
- Photo of the hinge side and latch side with the door open.
- Any door size, label, brand, or measurement you already have.
- Your town and whether this is for your home, rental turnover, seller prep, or move-out repair.
Signs the Door Needs Attention
- You can see daylight around the door.
- The bottom of the frame or threshold feels soft.
- The door drags, sticks, or will not latch cleanly.
- Water appears near the door after rain.
- Trim is cracked, loose, swollen, or pulling away.
- The door looks bad in listing photos or inspection walk-throughs.
What South Jersey Repairs Can Help With
- Exterior door replacement planning.
- Threshold and lower trim repair.
- Door casing, caulk, and finish details.
- Seller prep punch lists before photos and showings.
- Rental turnover door repairs and lockset refreshes.
- Hauling old door material and job debris when part of the repair.
When the Job May Need More Work
If the opening has major rot, active leaking, structural damage, masonry issues, or a badly out-of-square frame, the project may need extra repair planning before a clean replacement can be finished.
That is why photos matter. They help narrow down whether this is a straightforward door replacement or a repair project around the opening.
Need a Door Replaced or Repaired?
Text photos of the door, threshold, inside trim, outside trim, and any damaged areas. South Jersey Repairs helps homeowners, sellers, landlords, and property owners with door replacement, repair planning, cleanouts, punch lists, and property maintenance.